
Click the icon on the left for the Full menu.
 OR
OR 
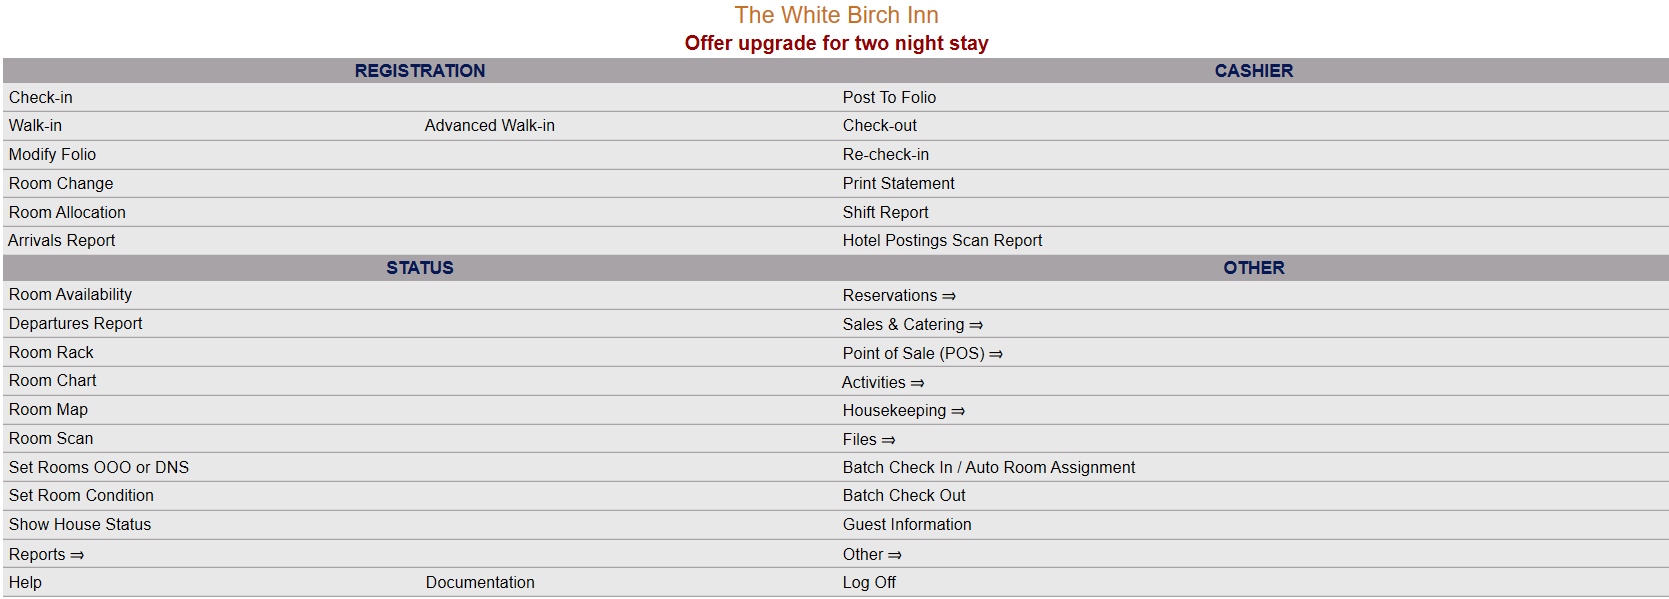
This will display the Full menu in a tabular form, with four sections, Registration, Status, Cashier and Other.
 OR
OR 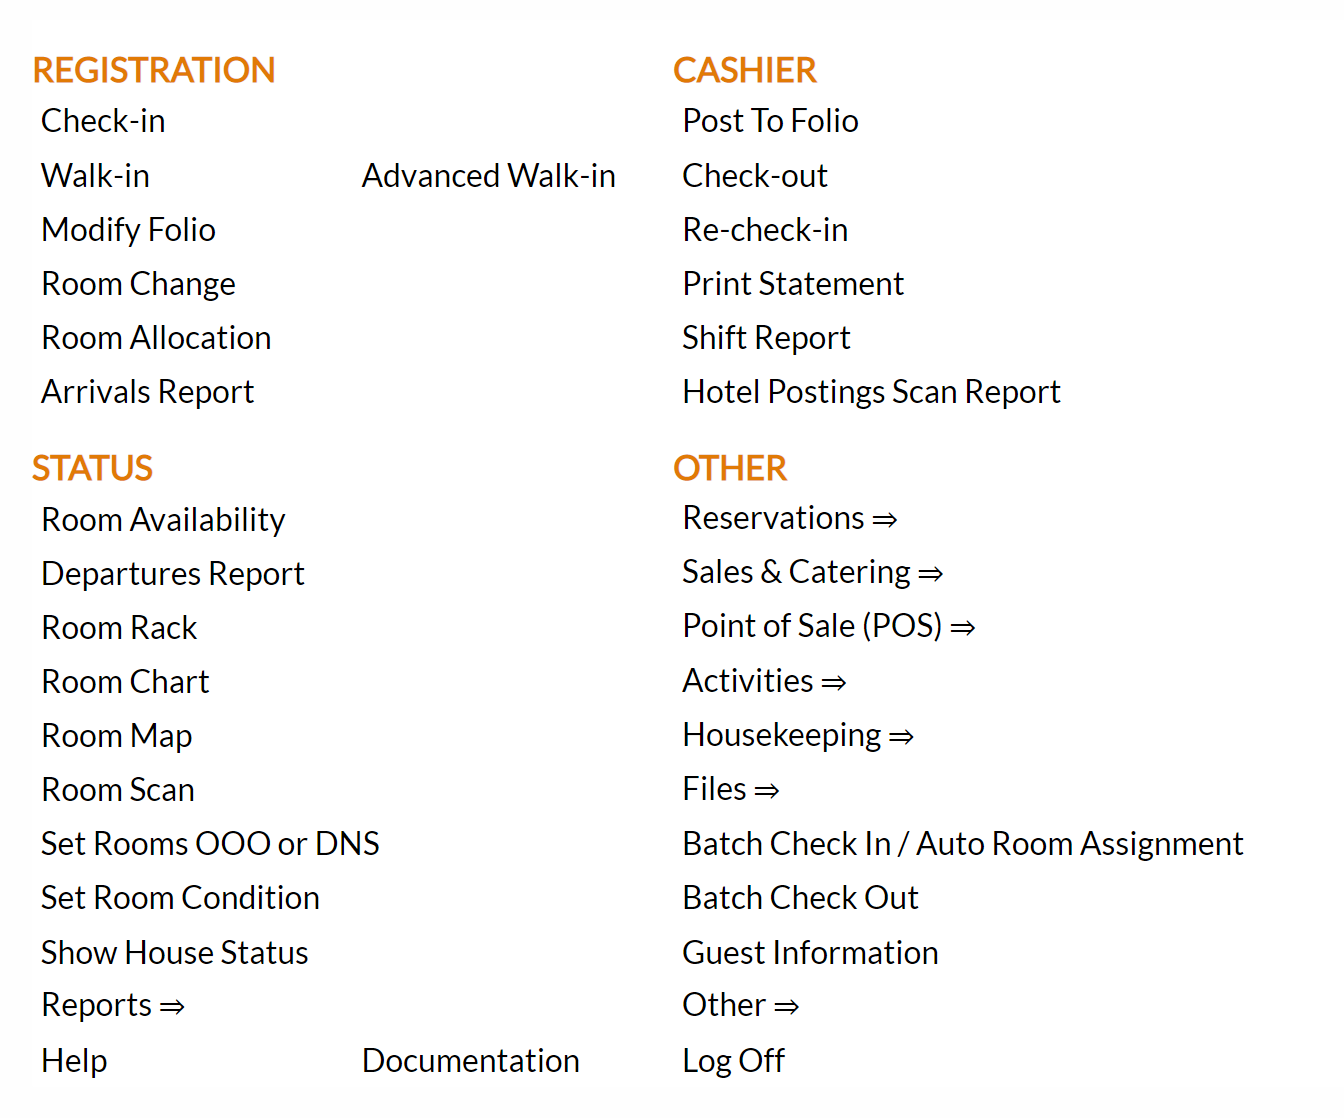
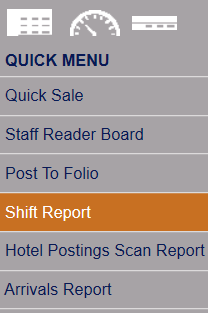
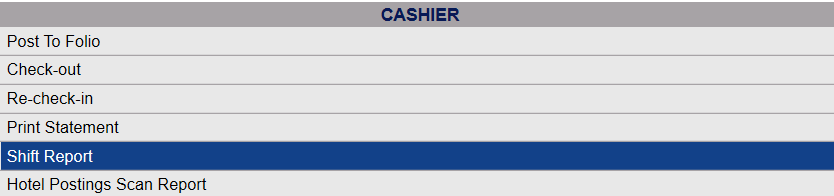
From the Cashier Section, select Shift Report.
 OR
OR 
This opens the Shift Report Screen:

Complete the fields described below:
Enter the Drawer Opening Balance: This is the drawer count at the start of the shift. Type this in manually into the field
Enter the Drawer Closing Balance: This is the drawer count at the end of the shift. Type this in manually into the field.
Enter the Date to Print: By default today's date is entered. Click on the field to open a calendar where you can select the desired date.
Select the Shift: This is a drop-down menu of all available Shifts. Choose a specific shift (or All for all shifts).
Select the Cashier(s): A list of all available cashiers to generate the report for. This is a scrollable list. Select a specific cashier (or All for all cashiers). To select multiple names, simply hold the control (Ctrl) button down whilst making your selection. By default, the person currently logged in to Skyware is selected.
Separate report for each Cashier selected: This box may be checked or unchecked. By default it is unchecked. If you have selected multiple cashiers to display, you may click here to have the results separated into individual reports.
Format for a Receipt Printer: This box may be checked or unchecked. By default it is unchecked. Checking this box will cause further options to become available (and allow you to generate a POS Shift Report instead of the general Shift Report) .

Show Detail: By default this check box is unchecked. If selected, Show Detail will show all payments separately for each check.
Use Server assigned to Check: By default this check box is unchecked. This option when selected allows you to specify that the report uses the server assigned to the check - Default is Cashier, but it MAY be different people
Outlet: This option allow you to select the outlet that the report is generated for, and is a drop-down menu of all configured Outlet options available. You can choose -ALL- or select specific outlet. Only one choice can be selected.
Once completed, click the button Show the Shift Report.


The report shows the opening balance at the top, separated by the hotel, A/R and POS, then the deposits made, payments made, refunds or paid outs made, the amounts paid in cash or by credit card, totals and the closing balance at the bottom, with any Over (+) / Short (-) for the shift calculated for you.
Note: IF you checked the "Format for a Receipt Printer" to allow the generation of a POS Shift Report instead of a general POS Report, the report will appear differently:


See the help topic POS Shift Report for further details.
By default, the report is generated as a PDF from which you can print or save the report (among other options). If you prefer, you can select the Generate report to Excel checkbox to print the report as an Excel spreadsheet.
NOTE: The generated report appears as a pop-up window through your browser. If your browser is set to block pop-ups, you may receive a warning banner at the top of the browser. Click this banner and select to allow pop-ups so that you can view the report.